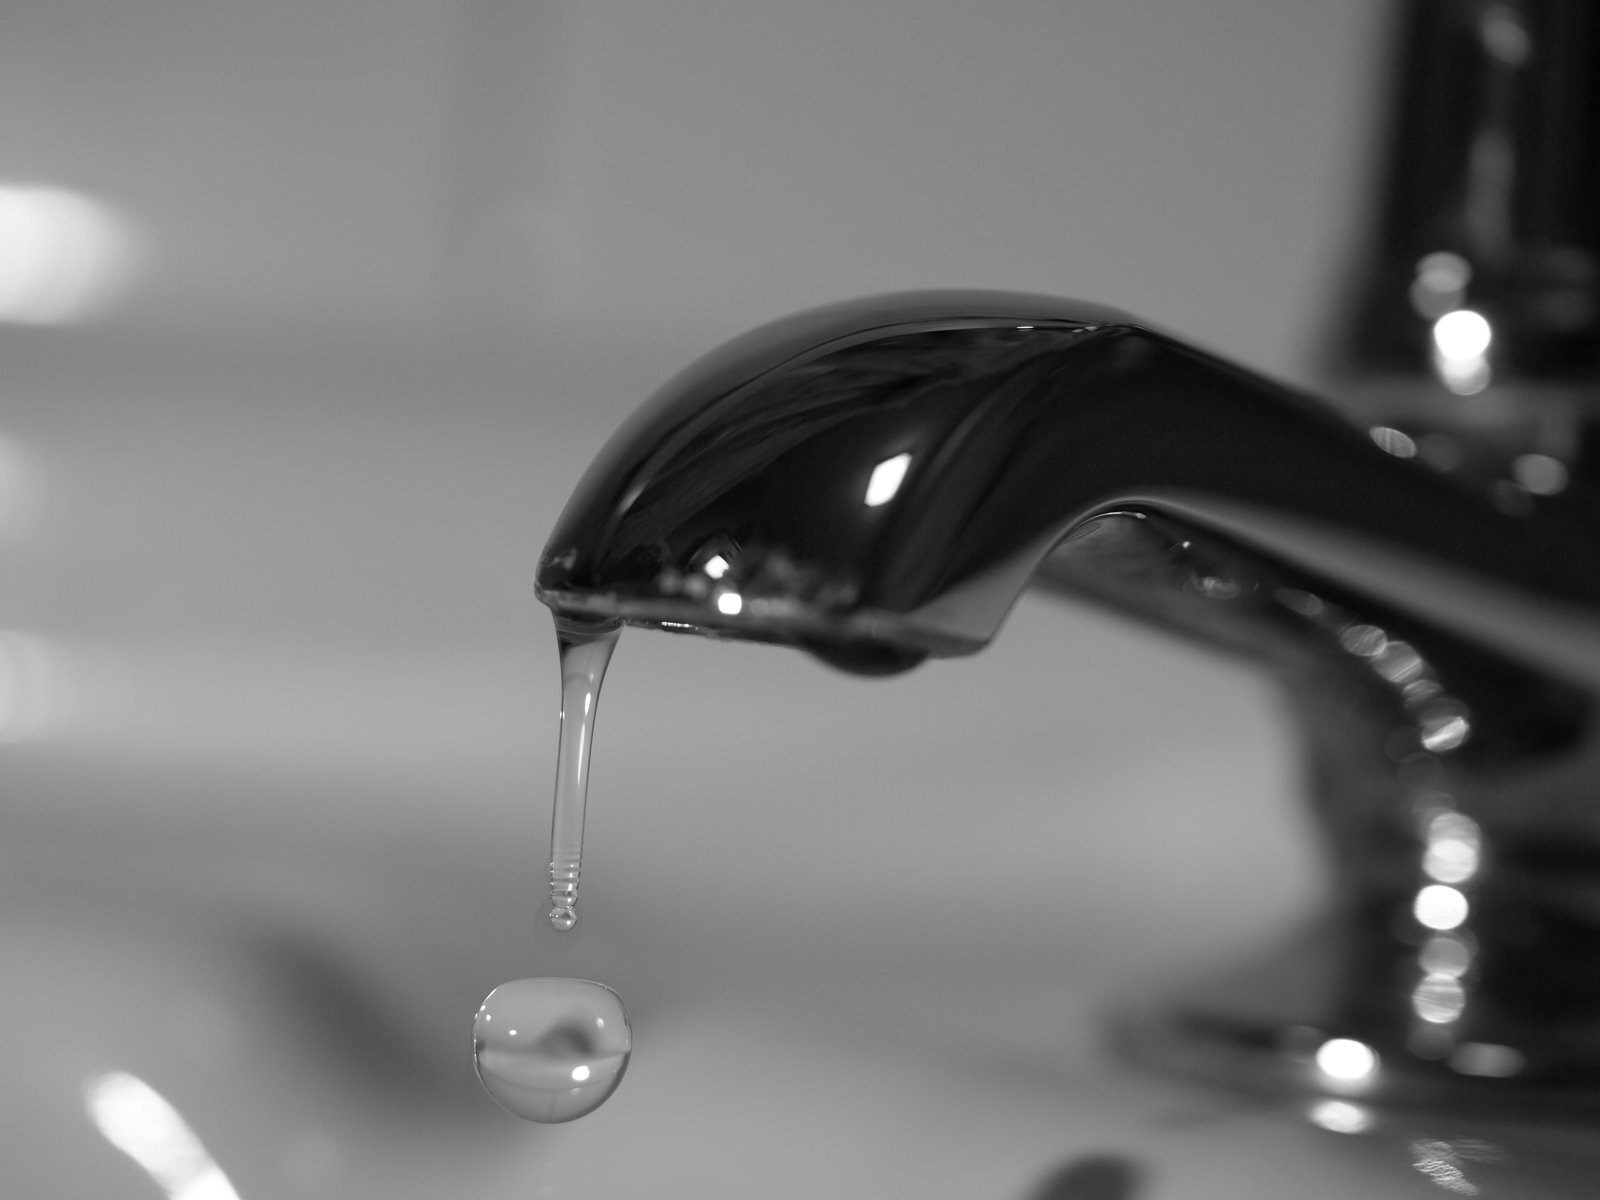
Your Guide to Leaky Faucets and How You Can Fix Them
If you’re experiencing a constant drip from your plumbing fixtures, you could be wasting gallons of water daily. As soon as you notice a leak, you should immediately aim to repair it. Fortunately, you can usually repair a faucet on your own with a few basic tools, whether you need to fix a leaky bathtub or a kitchen sink.
To fix your leaky faucet at home, keep the following steps in mind:
1. Determine What Type of Faucet You Have
Your home is full of all kinds of faucets in various locations. They may look similar on the outside, but when you open them up, you’ll see how different they can be. Before diving in, you’ll want to identify which type has a problem. If you’re fixing a leaky shower faucet, you’ll likely address problems within its valve and cartridge.
However, you’ll probably run into one of the following faucet types if you’re working on a sink:
- Ball faucet: A washerless system utilizing a single handle that controls a plastic or metal ball to regulate water flow.
- Disc faucet: A single lever with a wide, cylindrical faucet that controls water using two ceramic discs that slide over each other at the bottom of the mixing chamber.
- Cartridge faucet: A single- or double-handle configuration with an internal stem cartridge, O-rings and washers that move with the handle to allow and block water flow.
- Compression washer faucet: One of the oldest faucet technologies, relying on the opening and closing of rubber washers to regulate water flow.
2. Shut Off the Main Water Supply
Before messing with any parts of your plumbing, shutting off your water supply is always a good idea. Most plumbing fixtures have a shut-off valve located below a cabinet or behind a wall. You can shut off your home’s main water supply if you can’t readily access the valve individually.
3. Cover the Drain
Many parts you’ll be dealing with are tiny and awkward to handle. We recommend placing a drop cloth or towel over the drain to prevent screws or other tiny components from falling in.
4. Remove Handles
Most handles are held in place using a set screw, which is usually straightforward to remove. If you have two handles, check the water temperature to determine whether you need to remove the hot or cold handle. If you’re fixing a leaky bathtub faucet or shower head, remove its faceplate and metal sleeve. You can use penetrating oil to loosen up any difficult parts.
5. Disassemble Internal Parts and Check for Signs of Damage
Each faucet type is unique in its construction, so disassembly will vary. You’ll have to remove a retaining clip with needle-nose pliers before extracting the internal valve cartridge on most showers, bathtubs and cartridge faucets. Whether fixing a leaky outdoor faucet or utility sink with a compression system, you’ll likely have to pull out the stem to see its seals.
If you’re repairing a leaky kitchen sink with a ball faucet, you may have to work a bit harder to extract the top cap assembly, cam, packing and entire ball to access your seats and springs. Alternatively, ceramic disc faucets are straightforward, as you’ll only have to remove the escutcheon cap to evaluate both discs.
With your faucet dismantled, you can look for any signs of wear and tear or damage. Some of the most common problems causing faucet leaks include:
- Worn-out washers, seals and O-rings
- Damaged or old cartridges
- Corroded or damaged valve seats
- Loose or broken parts
6. Replace, Reassemble and Test
If you can pinpoint the cause of your leak, purchase replacement parts and reassemble your faucet. Run the water and then turn it off to test for more leaks.
Ranck Is Ready to Help
If your leaky faucet is tougher to remedy than you first thought, Ranck Plumbing, Heating & Air Conditioning can help. We have over 60 years of experience in the plumbing industry, giving us the knowledge and skills to successfully tackle any repair job. Contact us online or call us at 717-397-2577 to learn how our plumbing services can help you fix your leaky faucet, no matter where it’s located!